

How to Build a Mobile App With No Coding Experience
You do not need a computer science degree to ship a mobile app. No-code platforms have changed the equation entirely. Whether you are an entrepreneur eyeing a new revenue stream or a builder looking to expand what you offer, the barrier is lower than it has ever been. This guide gives you the exact steps and tools to move from idea to live app — without writing a single line of code.
The Shift to No-Code Development
No-code platforms have opened app development to anyone willing to learn a visual interface. Drag-and-drop builders, pre-built templates, and point-and-click logic replace the terminal window. The technical floor dropped. The opportunity ceiling did not. That asymmetry is worth paying attention to.
Case Study: A Small Business Win
A small bakery owner wanted to drive orders and run promotions through a dedicated mobile app. No development budget. No technical background. Using Adalo, they built and deployed the app in a few weeks. Monthly sales climbed 30% within the first three months. The tool did not matter as much as the decision to start.
Choosing the Right No-Code Platform
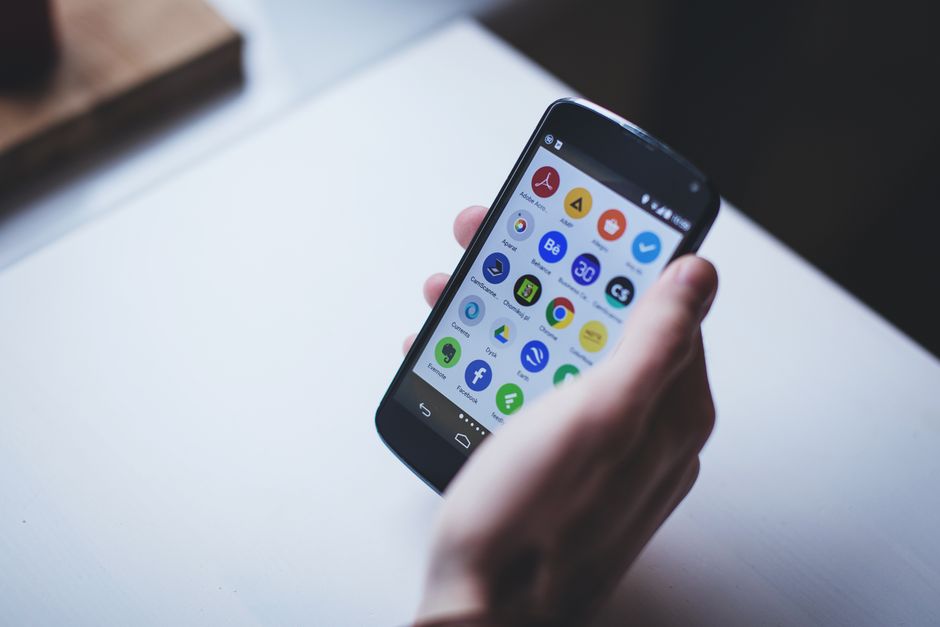
Platform selection shapes everything downstream. Match the tool to your app’s complexity, not the other way around. Here are three worth your time:
- Adalo: Clean interface, solid feature set, built for entrepreneurs moving fast. Pricing starts at $50/month.
- Bubble: More powerful. Fully customizable workflows for apps that need to scale. Free tier available; paid plans start at $25/month.
- Thunkable: Covers both Android and iOS with an interactive design environment. Free basic plan; advanced tiers start at $20/month.
Step-by-Step Guide to Building Your App
Here is the sequence that works. Follow it in order.
1. Define Your App Idea
Start with a sharp concept. What problem does this app solve? Who is it for? List the features that address real user pain points, then rank them by importance. Clarity here saves weeks later.
2. Wireframe Your App
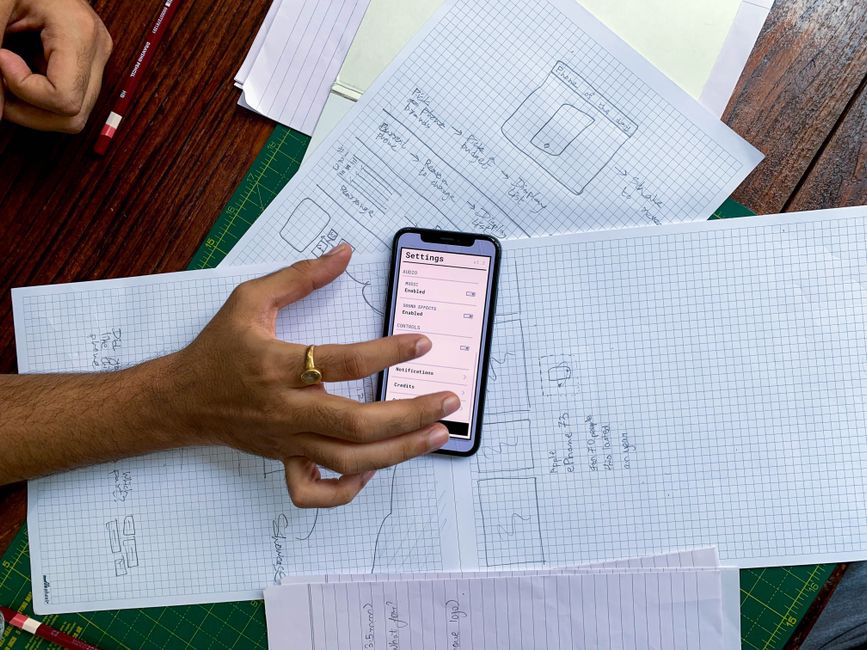
Before you touch a builder, map the layout. Tools like Figma or Sketch let you sketch screens and user flows visually. This becomes your blueprint. It also forces you to think through the experience before you build it.
3. Choose Your No-Code Platform
Match platform to complexity. Simple apps with straightforward flows belong in Adalo. More logic-heavy builds belong in Bubble. Use trial versions before you commit financially. Test relentlessly before you spend.
4. Develop and Design
Open the builder and start assembling. Drag in components — text, images, buttons, forms. Style everything to serve usability first, aesthetics second. Plug in third-party services like payment gateways through available integrations. Build in silence. Ship when it is ready.
5. Test Your App
Run comprehensive tests across every feature. Put real users in front of it before launch. Their friction points will show you what your assumptions missed. Fix those gaps before they become reviews.
6. Launch and Iterate
Publish to the app stores or distribute directly. Then keep going. Collect feedback, identify what breaks, and improve the product in cycles. ArcanoLabs provides resources for maintaining and optimizing your app after launch.
Why Choose ArcanoLabs for Your App Development
ArcanoLabs builds AI-driven productivity tools that slot directly into your workflow. For entrepreneurs and independent builders, Arcano Sprint handles project management without the overhead, and Arcano Chat sharpens user interactions. The goal is less friction between your idea and a working product. Visit ArcanoLabs to see how the tools fit your build.
Conclusion: Start Building Today
The gap between idea and app has never been smaller. No-code platforms remove the technical wall. Resources from operators like ArcanoLabs remove the knowledge wall. What remains is execution. Start with a clear problem, pick the right platform, and build in silence. The operators who win are not waiting for permission. They are already shipping.
Best Practices for No-Code App Development
The tools give you access. These practices determine what you do with it.
- Start Small, Scale Gradually: Launch a minimum viable product with only the essential features. Test the market first. Add complexity after you have real data, not assumptions.
- Prioritize User Experience: Intuitive navigation is not optional. A seamless experience drives retention. A confusing one drives uninstalls.
- Use Community Support: Every major no-code platform has an active user community. Tap it. Other builders have already solved the problem you are stuck on.
- Lock Down Data Security: Secure login methods and data encryption are non-negotiable. Users trust you with their information. Protect it.
Frequently Asked Questions
Can I add custom code to a no-code application?
Most no-code platforms allow custom code insertions for functionality that falls outside their standard toolset. You are not locked out of advanced features — you just do not need them to get started.
How much technical support do no-code platforms provide?
Reputable platforms back their products with documentation, tutorials, community forums, and dedicated support teams. You will rarely hit a wall without a path around it.
What are the limitations of no-code app development?
No-code tools are not the right fit for highly complex or deeply custom builds. Platform constraints can also affect long-term scalability. Know the ceiling before you commit to a tool.
Key Performance Indicators to Track
Launching is step one. Knowing whether it is working is step two. Track these numbers from day one.
- Active Users: How many people are actually using the app over a given period. Growth here signals real engagement.
- Retention Rate: How many users come back. This is your clearest signal of long-term product value.
- Daily Sessions per User: Frequency of return visits. High numbers mean the app has become a habit.
- User Feedback: Qualitative data that surfaces what the numbers cannot. Collect it consistently and act on it.
Case Study: Educational App Development
A language teacher wanted to move instruction online and build something students would actually use. Using Thunkable, the teacher built a bilingual learning app with quizzes, flashcards, and multimedia lessons. In the first quarter post-launch, the app hit a 40% user engagement rate. Feedback praised the intuitive design and the quality of the learning modules. One person, no development team, no code. That is what the tools make possible when you commit to the build.
Tools and Resources to Expand Your Knowledge
The platform gets you started. These resources keep you sharp.
- Online Courses: Coursera and Udemy both carry no-code development courses. Structured learning accelerates what trial and error takes months to teach.
- Webinars and Workshops: Live sessions run by no-code communities give you direct access to experienced builders and real-time answers.
- Forums and Blogs: StackExchange and niche development blogs keep you current on platform updates, workarounds, and emerging techniques.
Stay informed. Stay adaptable. The operators who build the best apps are not the ones with the most talent — they are the ones who keep testing and keep improving long after everyone else stops.
Checklist for Launching Your Mobile App
Do not rush the launch. Run through this list before you go public.
- Finalize App Design: UI and UX should be polished and consistent with your brand.
- Thorough Testing: Every feature tested. No known bugs at launch.
- User Onboarding: A clear first-time tutorial so new users know exactly what to do.
- App Store Optimization: Keyword-rich listing, strong visuals, compelling description.
- Marketing Plan: A launch campaign across the channels where your audience actually lives.
- Analytics Setup: Tracking tools live from day one so you have data immediately.
A clean launch creates the first impression you cannot redo. Cover every item on this list before you publish.


Leave a Reply