


React is three things: containers you reuse, data you pass into them, and data that changes. Once you see how those three pieces talk to each other, every React app you build is just those same three things stacked differently.

Why React Exists (And Why You Should Care)
If you’ve built anything interactive with vanilla JavaScript, you already know the pain. Every button, every input, every interaction means rewriting the same HTML and logic. It’s slow and it compounds in the wrong direction. React fixes that by letting you write a component once and use it everywhere.
With React, you build a system. Reusable blocks of code that handle their own logic and rendering. Instead of rewriting code for each new feature, you add a layer to something that already works. That’s how you build apps that scale without starting from scratch every time.
Components: The Reusable Container

A component is a function that returns HTML. That’s the whole thing. No mystery. You write it once, and you can drop it into your app ten times without touching it again. Here’s what that looks like:
function Welcome(props) {
  return <h1>Hello, {props.name}</h1>;
}
Welcome is a component that takes props and returns a greeting. You can use it as many times as you need, passing different data each time:
<Welcome name="Alice" />
<Welcome name="Bob" />
<Welcome name="Charlie" />
That’s hours of copy-pasting eliminated. You stay focused on the parts of your app that actually need your attention.
Props: Passing Data Into Components
Props are how you customize a reusable component. Think of them as the arguments you pass into a function. You hand data to a component through props, and the component uses it to render what you need. Here’s a concrete example:
function Button(props) {
  return <button>{props.label}</button>;
}
One Button component. Infinite variations, just by changing the label prop:
<Button label="Submit" />
<Button label="Cancel" />
<Button label="Delete" />
That’s the system working. One component, every variation you need. That’s how flexible, scalable apps get built.
State: Data That Changes
State is different from props. Props come from outside the component and don’t change. State lives inside the component and does change. It’s how you make things interactive — clicks, form inputs, toggling visibility. Here’s how you add state to a component:
import React, { useState } from 'react';

function Counter() {
  const [count, setCount] = useState(0);

  return (
    <div>
      <p>Count: {count}</p>
      <button onClick={() => setCount(count + 1)}>Increment</button>
    </div>
  );
}
Click the button, the count state updates, the component re-renders. That’s the mechanic behind every dynamic UI you’ve ever used.
How They Work Together: A Real Example
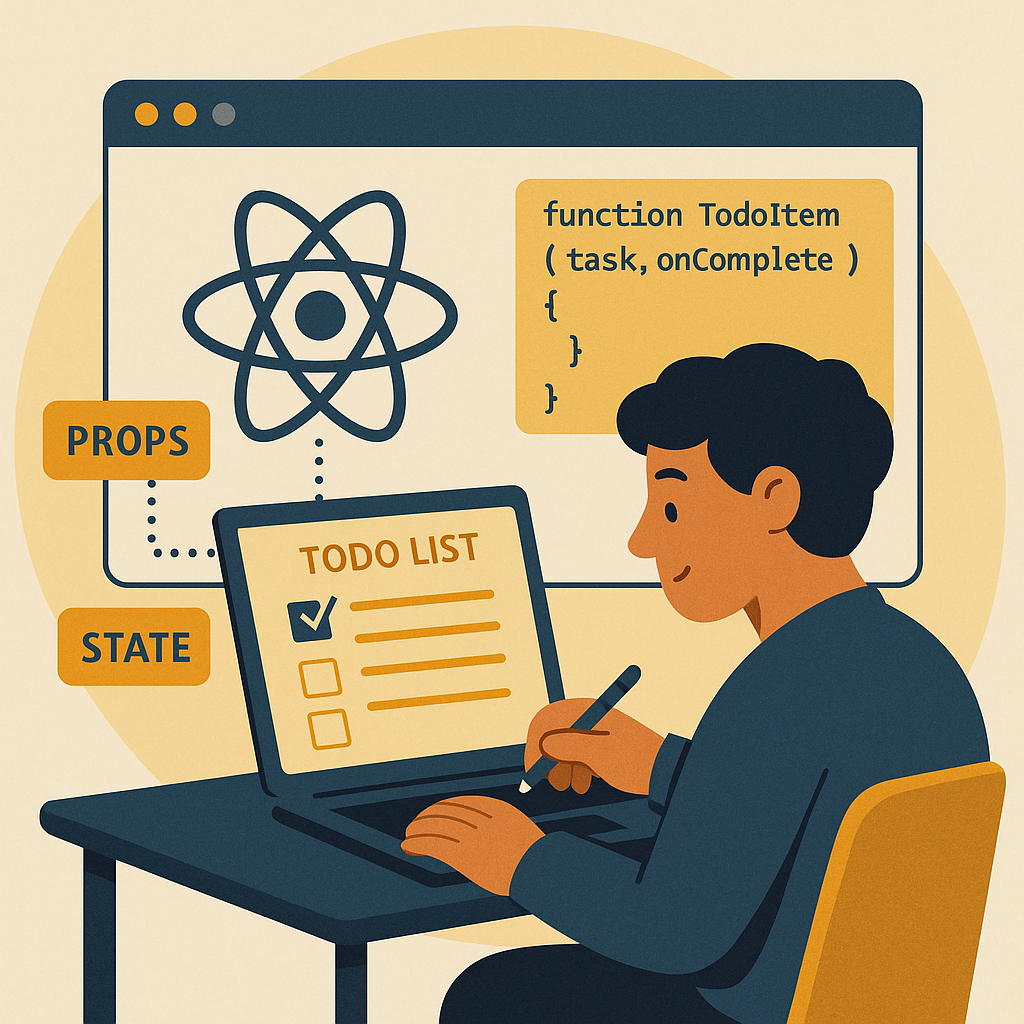
Here’s a simple todo list that puts all three pieces on the table at once. A component that uses props and state together to manage tasks:
function TodoItem({ task, onComplete }) {
  return (
    <li>
      <span>{task.name}</span>
      <button onClick={onComplete}>Complete</button>
    </li>
  );
}

function TodoList() {
  const [tasks, setTasks] = useState([
    { id: 1, name: 'Learn React', completed: false },
    { id: 2, name: 'Build a Todo App', completed: false },
  ]);

  const completeTask = (taskId) => {
    setTasks(tasks.map(task =>
      task.id === taskId ? { ...task, completed: true } : task
    ));
  };

  return (
    <ul>
      {tasks.map(task => (
        <TodoItem
          key={task.id}
          task={task}
          onComplete={() => completeTask(task.id)}
        />
      ))}
    </ul>
  );
}
TodoList owns the state. TodoItem receives props and triggers state changes. This pattern holds up as your app grows.
The System That Compounds
Get comfortable with components, props, and state, and you can build anything interactive in React. This is the foundation. Everything else — shipping a product, landing a job, scaling an app — sits on top of these three ideas. Start with a React app. Write one component. Pass props into it. Add state. The receipts are in the working code.
For more resources, check out The Silent Webmaster tutorials and resources to keep building.
Consider investing in quality tools like the Logitech MX Master 3S for a better coding setup, or register your domain with Namecheap to host your React projects.
Lifecycle Methods and Hooks: Going Beyond Basics
Components, props, and state get you started. But to control how your components behave over time — when they load, when they update, when they disappear — you need lifecycle methods and hooks. These are the tools that let you manage what happens at each stage.
Lifecycle Methods in Class Components
In class components, lifecycle methods are special methods React calls at specific points. The three you’ll reach for most often:
- componentDidMount: Runs immediately after the component appears. This is where you kick off API calls or set up subscriptions.
- componentDidUpdate: Runs after every update. Use it to act on DOM changes once the component has re-rendered.
- componentWillUnmount: Runs just before the component is removed. Clean up timers and cancel network requests here.
Here’s what that looks like in practice:
class DataFetcher extends React;

  componentDidMount() {
    fetch('https://api.example.com/data')
      .then(response => response.json())
      .then(data => this.setState({ data }));
  }

  componentDidUpdate(prevProps, prevState) {
    if (prevState.data !== this.state.data) {
      console.log('Data updated:', this.state.data);
    }
  }

  componentWillUnmount() {
    console.log('Component is about to be unmounted.');
  }

  render() {
    return (
      <div>
        {this.state.data ? <pre>{JSON.stringify(this.state.data)}</pre> : 'Loading...'}
      </div>
    );
  }
}
Functional Components and Hooks
React Hooks let functional components do everything class components can do, with less code and cleaner logic. useEffect handles what lifecycle methods used to handle, and useState manages your state. Here’s the same data-fetching pattern written as a functional component:
import React, { useState, useEffect } from 'react';

function DataFetcher() {
  const [data, setData] = useState(null);

  useEffect(() => {
    fetch('https://api.example.com/data')
      .then(response => response.json())
      .then(data => setData(data));

    return () => {
      console.log('Cleanup on component unmount');
    };
  }, []);

  return (
    <div>
      {data ? <pre>{JSON.stringify(data)}</pre> : 'Loading...'}
    </div>
  );
}
useEffect runs after the component renders. The return function is your cleanup, the same job componentWillUnmount used to do.
Handling Complex State with Reducers
When state logic gets complicated, useReducer gives you a cleaner way to manage it. It works like a Redux reducer — you define how state changes in response to specific actions, and the results are predictable every time.
Here’s a counter that can increment, decrement, and reset:
import React, { useReducer } from 'react';

const initialState = { count: 0 };

function reducer(state, action) {
  switch (action.type) {
    case 'increment':
      return { count: state.count + 1 };
    case 'decrement':
      return { count: state.count - 1 };
    case 'reset':
      return initialState;
    default:
      throw new Error();
  }
}

function Counter() {
  const [state, dispatch] = useReducer(reducer, initialState);

  return (
    <div>
      <p>Count: {state.count}</p>
      <button onClick={() => dispatch({ type: 'increment' })}>Increment</button>
      <button onClick={() => dispatch({ type: 'decrement' })}>Decrement</button>
      <button onClick={() => dispatch({ type: 'reset' })}>Reset</button>
    </div>
  );
}
This approach pays off when you’re dealing with state that has multiple sub-values, or when the next state depends on what the previous state was.
Context API: Managing Global State
Passing props down through five layers of components gets old fast. React’s Context API solves that. It lets you share values across your app without threading props through every level of the component tree.
Here’s a straightforward example using a theme toggle:
import React, { useContext, useState } from 'react';

const ThemeContext = React.createContext();

function ThemeProvider({ children }) {
  const [theme, setTheme] = useState('light');

  return (
    <ThemeContext.Provider value={{ theme, setTheme }}>
      {children}
    </ThemeContext.Provider>
  );
}

function ThemedButton() {
  const { theme, setTheme } = useContext(ThemeContext);
  const toggleTheme = () => setTheme(theme === 'light' ? 'dark' : 'light');

  return (
    <button onClick={toggleTheme}>
      Current Theme: {theme}
    </button>
  );
}

function App() {
  return (
    <ThemeProvider>
      <ThemedButton />
    </ThemeProvider>
  );
}
ThemedButton reads the theme directly from context. No prop drilling. The system handles it.
Best Practices and Common Pitfalls
A few things that keep your React code clean and your app running the way you expect:
- Keep Components Small: Break large components into smaller, reusable pieces. Easier to read, easier to maintain.
- Optimize Performance: Use
React.memoanduseCallbackto avoid unnecessary re-renders on expensive calculations. - Debugging: Install React Developer Tools for Chrome or Firefox. Inspecting your component tree directly saves real time.
And the mistakes worth avoiding:
- Mutating State Directly: Always use state setters. Mutating state directly produces behavior you can’t predict or trace.
- Excessive Re-renders: Watch your state updates and effects. Unnecessary re-renders add up and slow things down.
- Ignoring Keys in Lists: Always give list items a unique key. React uses it to track what changed, what was added, and what was removed.
Real-World React: Case Studies
Here’s how these concepts show up in production apps:
Case Study 1: E-Commerce Platform
An e-commerce platform uses React for its entire front end. Components handle complex product filters, live cart updates, and a multi-step checkout. The Context API manages user sessions and preferences globally, so the experience stays consistent across every page without passing props through the whole tree.
Case Study 2: Social Media Dashboard
A social media dashboard built in React lets users monitor multiple accounts in real time. useEffect handles live data fetching. useReducer manages the complex state behind likes, shares, and comments. The result is a UI that stays responsive while owned traffic and interactions update continuously in the background.
Keep building small projects. Try new hooks. Gradually take on more complex apps. The real answer to getting good at React is working code, not more reading.
Testing React Components
Testing is how you know your components actually do what you built them to do. It catches problems before users find them and keeps your codebase stable as it grows. Three layers cover most of what you need.
Unit Testing with Jest
Jest is the standard testing framework for React. It handles individual components and functions, with a built-in test runner, assertion library, and mocking tools.
// Example Jest test for a simple component
import React from 'react';
import { render } from '@testing-library/react';
import '@testing-library/jest-dom/extend-expect';
import Button from './Button';

test('renders button with correct label', () => {
  const { getByText } = render(<Button label="Click Me" />);
  expect(getByText('Click Me')).toBeInTheDocument();
});
This test confirms the Button component renders with the right label. @testing-library/react simulates rendering and interactions in a way that reads like plain English.
Integration Testing with React Testing Library
React Testing Library tests how a user actually interacts with your components, not just whether they render. That’s a more complete picture than unit tests alone.
// Example integration test
import React from 'react';
import { render, fireEvent } from '@testing-library/react';
import '@testing-library/jest-dom/extend-expect';
import Counter from './Counter';

test('increments counter on button click', () => {
  const { getByText } = render(<Counter />);
  const button = getByText('Increment');
  fireEvent.click(button);
  expect(getByText('Count: 1')).toBeInTheDocument();
});
Click the button, check the count. That’s the real answer to whether your component works — not whether it compiles, but whether it does the right thing when someone uses it.
End-to-End Testing with Cypress
Cypress tests the full application flow in a real browser. It simulates actual user behavior from start to finish, so you know the whole system holds together.
// Example Cypress test
describe('Login Flow', () => {
  it('should log in successfully', () => {
    cy.visit('/login');
    cy.get('input[name="username"]').type('user');
    cy.get('input[name="password"]').type('password');
    cy.get('button[type="submit"]').click();
    cy.url().should('include', '/dashboard');
  });
});
This test walks through a login, then confirms the user lands on the dashboard. Cypress gives you confidence that the whole flow works, not just the individual pieces.
Layer unit tests, integration tests, and end-to-end tests into your process and you build React applications that hold up — in production, under updates, and while you sleep.
Disclosure: this article may contain affiliate links. If you buy through them, we may earn a small commission at no extra cost to you.



Leave a Reply