

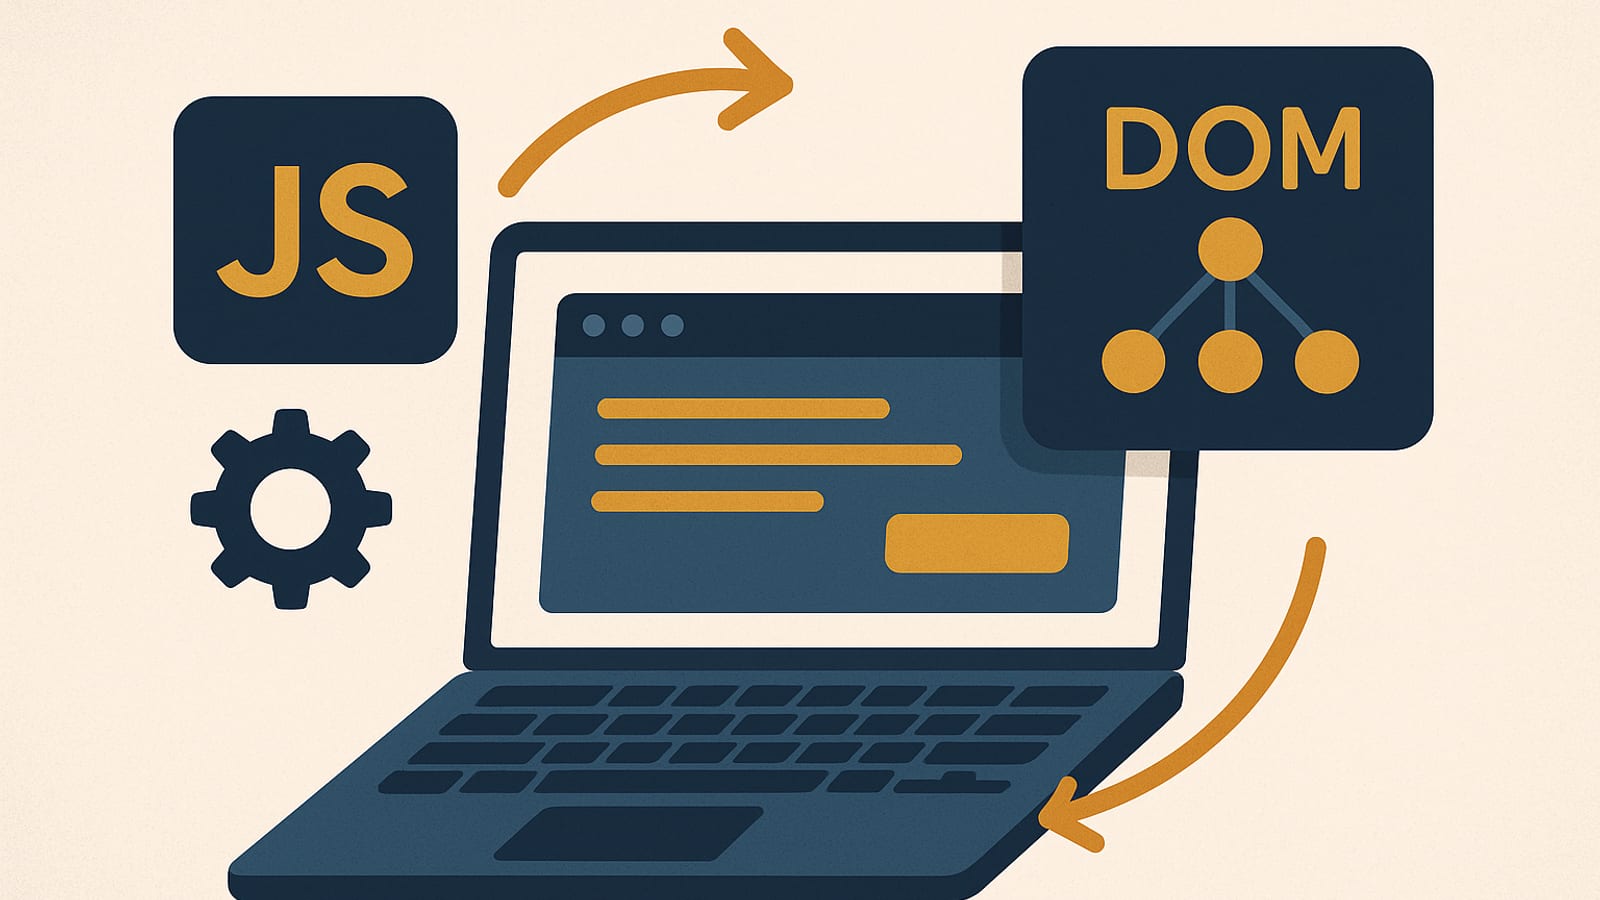
You click a button on a website and new content appears instantly — no page reload, no waiting. That’s not a trick. That’s JavaScript talking to the Document Object Model, and it’s the same mechanic that powers every interactive web application running owned traffic right now. Learn it once and it compounds. You’ll be building systems that respond to users while you sleep.
The Real Answer: What is DOM Manipulation?
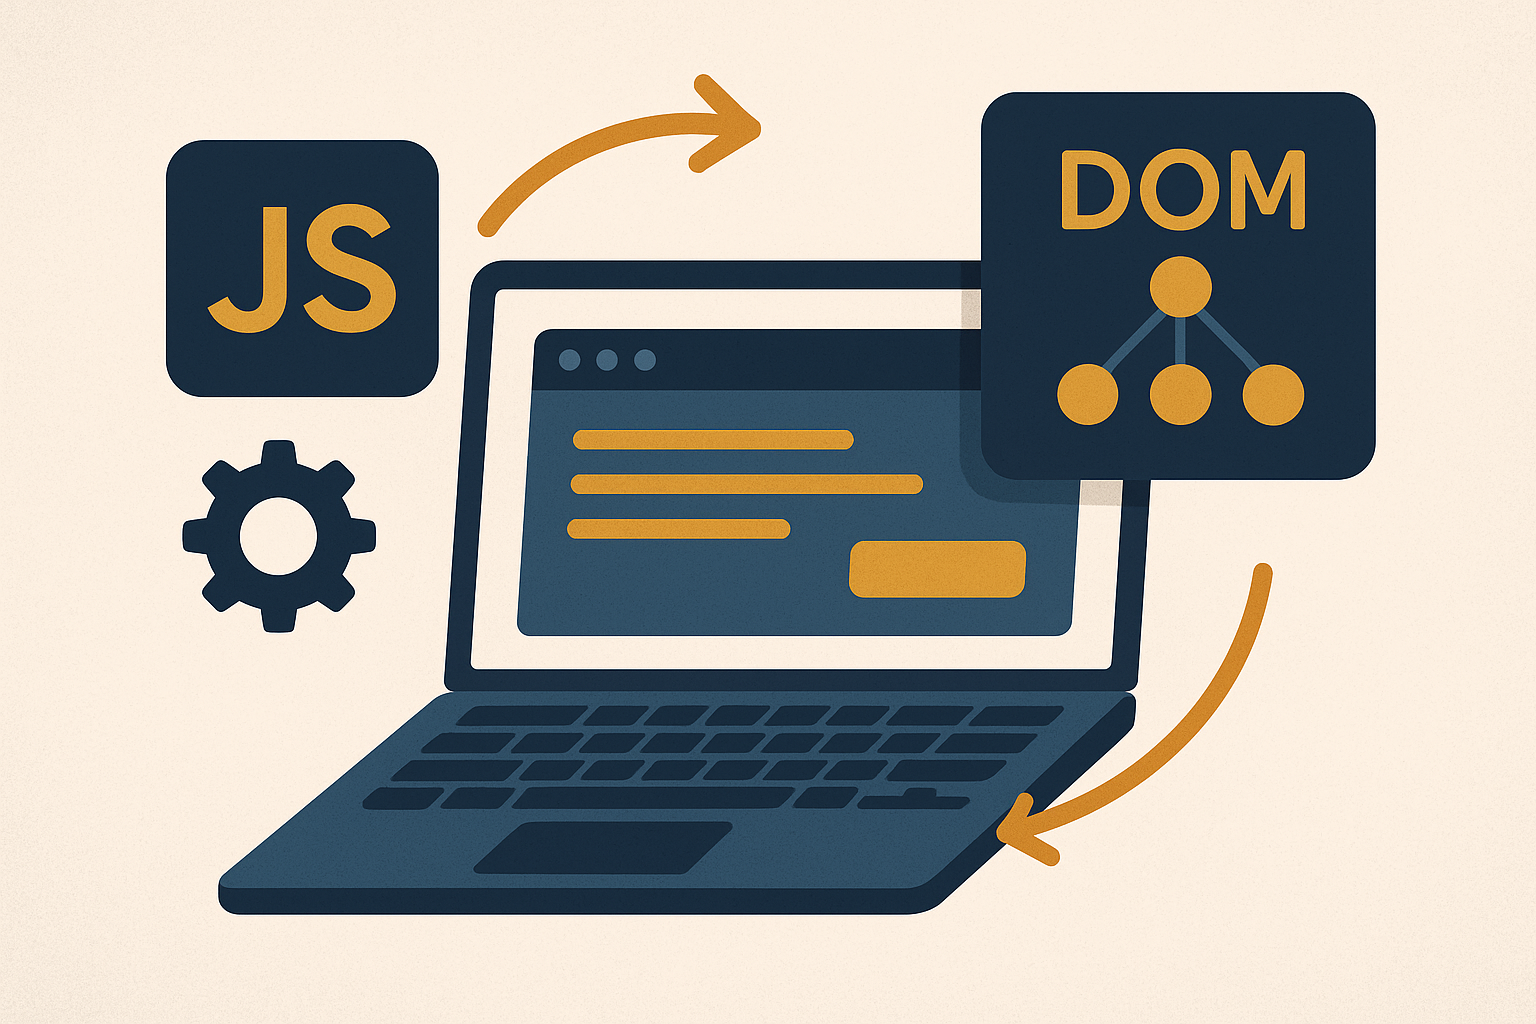
Here’s the scene. You’re on a page. You click something. Content shifts, updates, appears — all without the browser fetching a new page. That’s DOM manipulation. The DOM is a live map of your page’s structure, and JavaScript is the tool that lets you redraw that map on the fly. It’s not abstract theory. It’s the foundation every interactive site is built on.
Why Learn DOM Manipulation?
The real answer is that this skill compounds. Once it clicks, you can build pages that respond to user actions, update content without reloading, and deliver experiences that keep people on your site longer. Longer sessions mean better engagement signals. Better signals mean more owned traffic. More traffic means the system keeps working while you sleep.
Getting Started: Tools You Need
Before you write a single line of code, get your environment sorted. A solid text editor is non-negotiable. If you’re planning to host what you build, Namecheap handles domain registration cleanly. For hardware, the Logitech MX Master 3S is a reliable daily driver for developers.
Basic Setup
- Text Editor: Visual Studio Code or Sublime Text are the two most common choices.
- Browser: Chrome or Firefox — both have developer tools that show you exactly what the DOM looks like in real time.
- Environment: A local server via Node.js or a simple tool like XAMPP gets you running without touching a live server.
Diving into DOM Manipulation

Three steps. Query the DOM, attach event listeners, then change state. Each one builds on the last. By the end you have a complete, working system — not just isolated snippets.
Step 1: Querying the DOM
Think of querying like pulling up an address before you drive somewhere. You need to know which element you’re targeting before you can do anything with it. Two methods cover most situations:
// Select an element by ID
let header = document.getElementById('header');

// Select an element by class
let button = document.querySelector('.my-button');
Step 2: Adding Event Listeners
An event listener tells the browser to watch for a specific action — a click, a keypress, a mouse movement — and then run a function when it happens. Here’s the basic pattern:
// Add a click event listener
button.addEventListener('click', function() {
  alert('Button clicked!');
});
That single setup is the backbone of every interactive page. You’re teaching your site to respond. That responsiveness is what keeps visitors engaged instead of bouncing.
Step 3: Changing State
State changes are where the page actually moves. You update content, reveal hidden sections, swap text — all without a reload. Here’s what that looks like in practice:
// Change the text content of an element
header.textContent = 'New Header Text';

// Toggle visibility of an element
button.style.display = button.style.display === 'none' ? 'block' : 'none';
These updates happen instantly. The user never waits. That’s the kind of experience that keeps a site’s session time up and its bounce rate down.
Building a Mini-Project

Put all three steps together and you get something real. We’ll build a to-do list — users can add tasks and delete them. Simple on the surface, but it uses every mechanic you just learned.
Project Setup
Start with this HTML structure:
<div id="app">
  <h2>To-Do List</h2>
  <input type="text" id="new-task" placeholder="Add a new task...">
  <button id="add-task">Add Task</button>
  <ul id="task-list"></ul>
</div>
JavaScript Implementation
Here’s the JavaScript that runs the whole thing:
// Select elements
let taskInput = document.getElementById('new-task');
let addTaskButton = document.getElementById('add-task');
let taskList = document.getElementById('task-list');

// Add task function
function addTask() {
  let taskText = taskInput.value;
  if (taskText === '') return;

  let listItem = document.createElement('li');
  listItem.textContent = taskText;

  let deleteButton = document.createElement('button');
  deleteButton.textContent = 'Delete';
  deleteButton.addEventListener('click', function() {
    taskList.removeChild(listItem);
  });

  listItem.appendChild(deleteButton);
  taskList.appendChild(listItem);

  taskInput.value = ''; // Clear input
}

// Attach event listener
addTaskButton.addEventListener('click', addTask);
That’s querying, event listeners, and state changes working together in one project. It’s a small build, but the receipts are clear — you can see exactly how each piece does its job.
Next Steps: Building Your System
You now have the foundation. The next move is to build on it — more complex projects, API integrations, sharper skills. The goal is a system that handles user interactions on its own, pulling in owned traffic and running while you sleep.
For more tutorials and resources, visit The Silent Webmaster Tutorials.
Start building today. The gap between learning and earning closes when you stop reading about fundamentals and start shipping them. Write the code, run the project, watch the system take shape.
Advanced DOM Manipulation Techniques
Once the basics are solid, there are techniques that make your applications faster and more capable under real-world conditions. These aren’t extras — they’re what separates a site that holds up at scale from one that slows down when traffic arrives.
Debouncing and Throttling
Scroll and resize events can fire dozens of times per second. Without controls in place, that volume of triggers bogs down the browser. Two patterns fix this:
- Debouncing: The function only runs after a set period of inactivity. Useful for resize events where you only care about the final state.
  function debounce(func, wait) {
    let timeout;
    return function(...args) {
      const later = () => {
        clearTimeout(timeout);
        func.apply(this, args);
      };
      clearTimeout(timeout);
      timeout = setTimeout(later, wait);
    };
  }

  window.addEventListener('resize', debounce(() => {
    console.log('Resized!');
  }, 200));
  function throttle(func, limit) {
    let lastFunc;
    let lastRan;
    return function(...args) {
      const context = this;
      if (!lastRan) {
        func.apply(context, args);
        lastRan = Date.now();
      } else {
        clearTimeout(lastFunc);
        lastFunc = setTimeout(() => {
          if ((Date.now() - lastRan) >= limit) {
            func.apply(context, args);
            lastRan = Date.now();
          }
        }, limit - (Date.now() - lastRan));
      }
    };
  }

  window.addEventListener('scroll', throttle(() => {
    console.log('Scrolled!');
  }, 100));
Dynamic Content Loading
Loading everything upfront costs you page speed. Loading content on demand — only when a user asks for it — keeps initial load times tight and the experience smooth. Here’s the pattern:
// Fetch and display data when a button is clicked
let loadDataButton = document.getElementById('load-data');

loadDataButton.addEventListener('click', function() {
  fetch('https://jsonplaceholder.typicode.com/posts')
    .then(response => response.json())
    .then(data => {
      data.forEach(post => {
        let postItem = document.createElement('li');
        postItem.textContent = post.title;
        document.getElementById('post-list').appendChild(postItem);
      });
    })
    .catch(error => console.error('Error fetching data:', error));
});
Handling Complex User Interactions
As your applications grow, managing multiple interdependent events gets harder. Two patterns keep things clean:
- Event Delegation: One listener on a parent element handles events for all its children. Fewer listeners means less memory overhead.
  document.getElementById('task-list').addEventListener('click', function(e) {
    if (e.target && e.target.nodeName === 'BUTTON') {
      e.target.parentElement.remove();
    }
  });
  // Create a custom event
  const customEvent = new Event('customEvent');

  // Listen for the custom event
  document.addEventListener('customEvent', function() {
    console.log('Custom event triggered!');
  });

  // Dispatch the custom event
  document.dispatchEvent(customEvent);
DOM Manipulation Performance Considerations
A slow DOM is a leaky system. Every unnecessary reflow costs you render time, and render time costs you users. Here’s how to keep things tight:
- Batch DOM Changes: Group your updates together. Making ten changes in one pass is far cheaper than making them one at a time.
- Use Document Fragments: When you’re inserting multiple elements, stage them in a
DocumentFragmentfirst, then append once. Fewer reflows, faster paint.
  let fragment = document.createDocumentFragment();
  for (let i = 0; i < 100; i++) {
    let newElement = document.createElement('div');
    newElement.textContent = 'Item ' + i;
    fragment.appendChild(newElement);
  }
  document.body.appendChild(fragment);
These aren't optional refinements. They're what keeps a system running cleanly at scale — the difference between a site that holds up under real traffic and one that doesn't.
Accessibility Considerations in DOM Manipulation
A system that works for most users but breaks for some isn't a complete system. When you manipulate the DOM, keep accessibility in the build from the start — not as an afterthought.
- Aria Attributes: ARIA attributes give screen readers the context they need to describe dynamic elements accurately.
  let addTaskButton = document.getElementById('add-task');
  addTaskButton.setAttribute('aria-label', 'Add new task');
tabindex to control focus order and keep navigation logical.
  let taskInput = document.getElementById('new-task');
  taskInput.setAttribute('tabindex', '0');
  function addTask() {
    // Existing task addition logic
    taskInput.value = '';
    taskInput.focus(); // Return focus to the input field
  }
Build it accessible from day one and you never have to retrofit it later. That's a cleaner system and a wider audience — both things that compound over time.
Debugging and Troubleshooting DOM Manipulation
Debugging is part of the job. The faster you find the problem, the faster the system is back running. Three tools cover most situations:
- Use Browser Developer Tools: Chrome DevTools lets you inspect elements live, monitor events as they fire, and read console output in real time. It's the closest thing to receipts for what your code is actually doing.
- Console Logging: Drop
console.log()at key points to track variable values and confirm your code is running in the right order. - Breakpoints: Set a breakpoint in your JavaScript and the browser pauses execution right there, letting you inspect every variable at that exact moment.
These three habits — inspect, log, pause — will surface most DOM issues quickly and keep your applications running the way they're supposed to.
Disclosure: this article may contain affiliate links. If you buy through them, we may earn a small commission at no extra cost to you.



Leave a Reply