

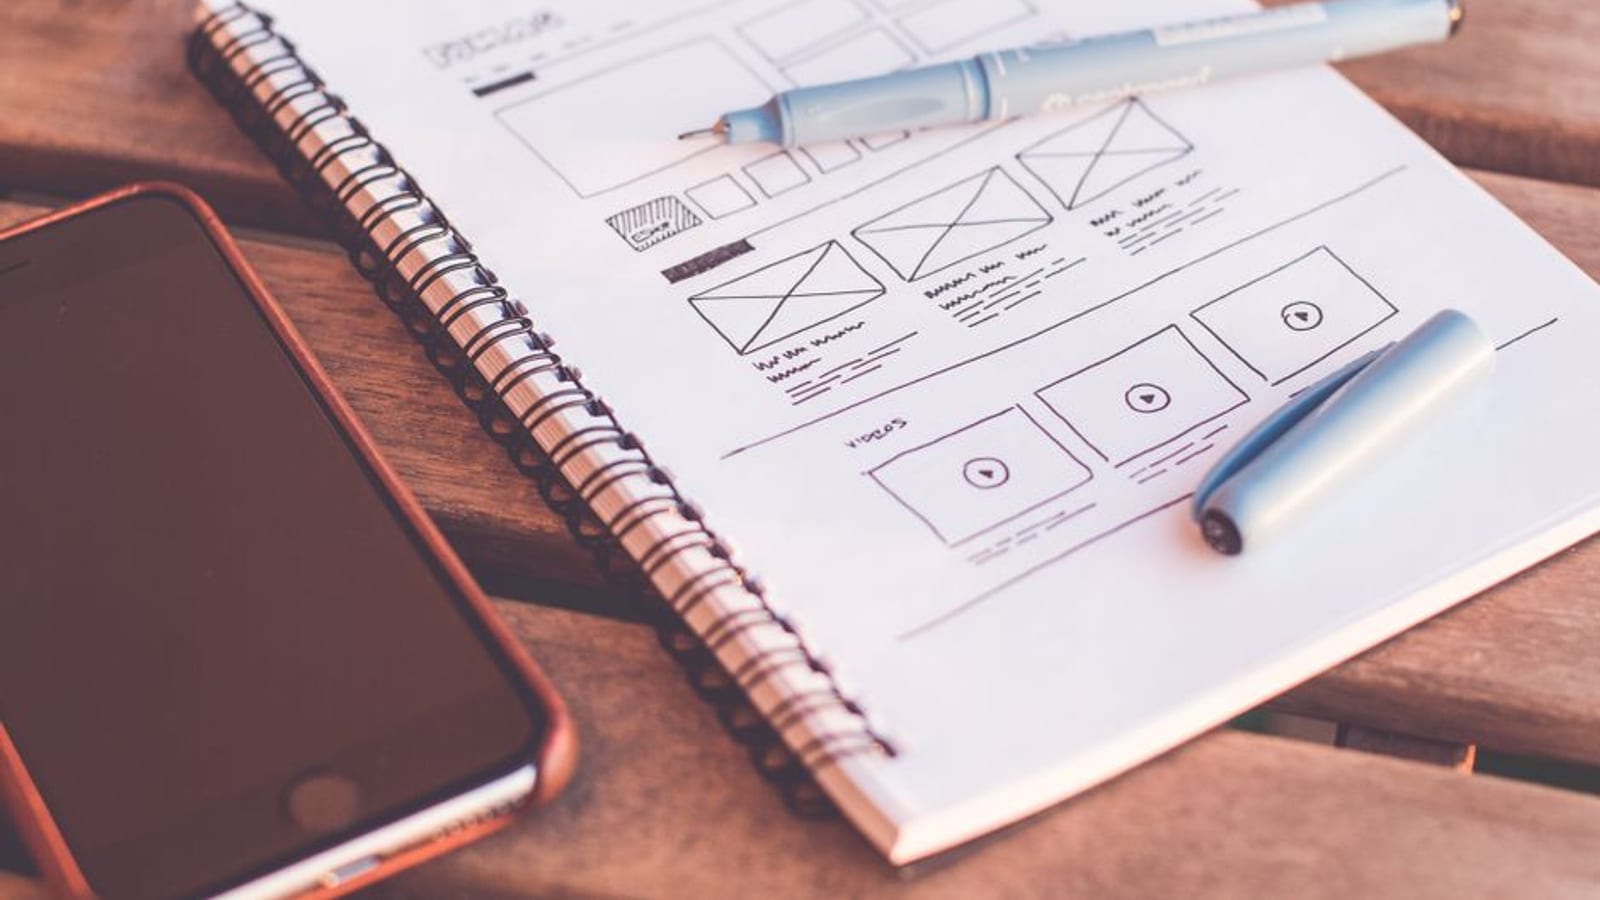
How to Create a Mobile App Wireframe and Prototype
Most apps fail before a single line of code is written. Not because the idea was bad — because the foundation was never built. A wireframe and prototype are that foundation. Skip them and you are guessing. Build them right and every decision downstream gets faster, cheaper, and sharper.
Understanding Wireframes and Prototypes
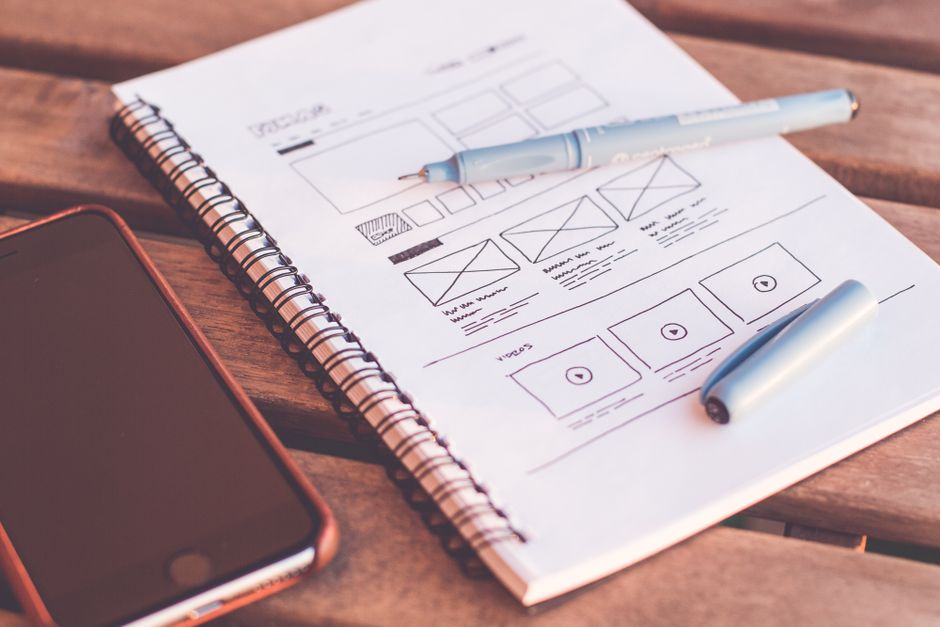
These two terms get used interchangeably. They are not the same thing. A wireframe is a skeletal layout — structure and hierarchy, no color, no polish. A prototype is a clickable model that simulates real user interactions. One shows you what goes where. The other shows you whether it actually works.
Why Wireframing Is Non-Negotiable
A wireframe is your blueprint. It surfaces structural problems before they become expensive ones. Developers who skip this step routinely discover navigation flaws mid-build — the kind that require tearing walls down, not patching drywall. Catching those issues at the wireframe stage costs you an afternoon. Catching them in development costs you weeks.

Tools for Wireframing and Prototyping
Your tool choice shapes your speed. Pick the wrong one and you are fighting the software instead of building the product. Here are three that consistently deliver:
- Balsamiq Mockups: Built for speed, not beauty. If you need a rough layout fast, this is your starting point. Plans begin at $9/month.
- Sketch: Precise vector editing for teams that need detailed, production-ready designs. Available at $99/year.
- Figma: Cloud-based, real-time collaboration built in. Free plan available with limits; premium plans start at $12/editor/month.
Figma is the go-to when multiple people need to work on the same file simultaneously. Balsamiq wins when you need to move fast and think out loud on screen.
Step-by-Step Guide to Creating a Wireframe
There is no shortcut here. Work through each step in order.
- Define Your App’s Purpose: Know exactly what problem your app solves before you draw a single box. Vague purpose produces vague design.
- Research Your Audience: Understand what your users actually need — not what you assume they need. That distinction determines whether your layout serves them or confuses them.
- Create a User Flow: Map the full journey from entry point to goal completion. Every dead end you find here is one you will not hit in development.
- Sketch Basic Layouts: Start on paper if you need to. Focus entirely on structure. Design comes later.
- Refine Your Wireframe: Move your sketches into your tool of choice. Add annotations that explain functionality — not just what elements look like, but what they do.
Follow these steps without skipping and you will have a wireframe that gives your development team a clear, unambiguous target.
Building a Prototype: Bringing Your App to Life
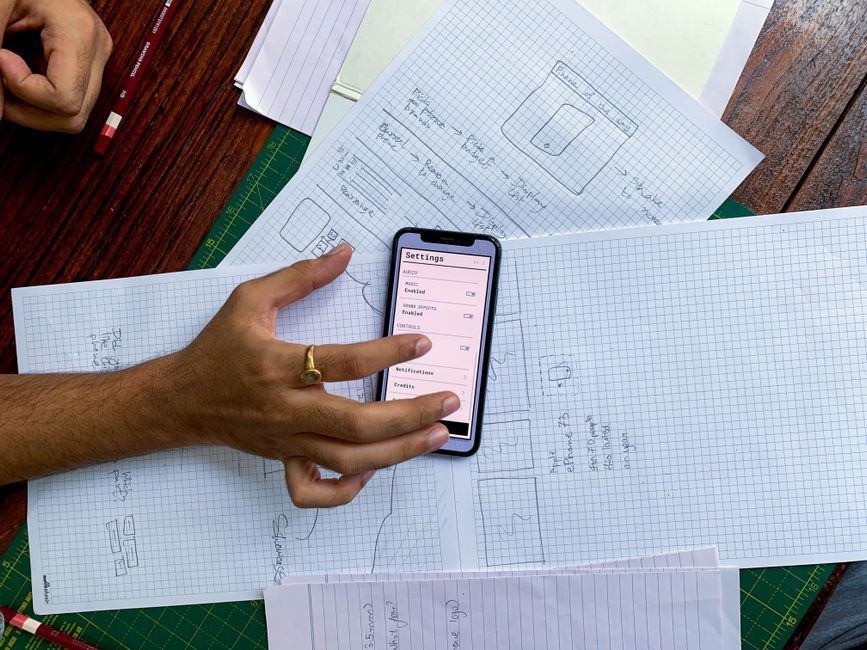
The wireframe tells you what exists. The prototype tells you whether it works. This is where you add interactivity — clickable paths, screen transitions, form submissions — so stakeholders can experience the app before a single line of code is committed.
Steps to Prototype Your App
- Choose the Right Tool: InVision and Adobe XD are both built for this. They let you simulate user interactions without writing code.
- Define Key Interactions: Identify the actions users will take most often — navigating between screens, submitting forms, triggering alerts. Build those first.
- Create Interactive Elements: Link your screens together. Every tap and swipe should lead somewhere intentional.
- Test and Iterate: Put the prototype in front of real stakeholders. Collect specific feedback. Then refine. Then repeat.
Prototyping is not a one-pass process. Each iteration tightens the product. The operators who build well do not rush this stage — they use it to eliminate risk before it becomes expensive.

Actionable Next Steps
You have the framework. Now execute it. Start with your app’s purpose and audience. Lock those in before you open any tool. Then select the software that fits your workflow and budget, and begin building your wireframe one screen at a time.
For more on building effective digital systems, visit ArcanoLabs. The platform is built for operators who want scalable, repeatable systems — not one-off projects.
The plan is in front of you. The only variable now is whether you act on it. Start today.
Best Practices and Tips for Effective Wireframing and Prototyping
The process matters. So does how you run it. These principles separate the teams that ship clean products from the ones that rebuild the same screens three times.
1. Prioritize User Experience
Design for the person using the app, not the person building it. Test your wireframe with real users early. Their confusion is data. Use it before it costs you a redesign.
2. Keep It Simple
Strip the wireframe down to core features first. A cluttered wireframe produces a cluttered product. Get the structure solid, then layer in complexity during prototyping — not before.
3. Use a Consistent Design Language
Buttons, icons, typography — keep them uniform across every screen. Consistency reduces cognitive load for users and reduces confusion for developers translating your design into code.
4. Iterate Based on Feedback
Feedback is the mechanism. Collect it systematically, not casually. Each round of iteration should produce a measurably tighter product. If your prototype looks the same after three rounds of feedback, you are not listening closely enough.
5. Document Your Process
Keep a clear record of every decision made during wireframing and prototyping. When you scale the app or bring in new team members, that documentation is the difference between a smooth handoff and a chaotic one.
Checklists for Wireframing and Prototyping
Use these before you move to the next phase. If you cannot check every box, you are not ready.
Wireframing Checklist
- Define the app’s primary objectives and user goals.
- Research target audience behaviors and preferences.
- Create a user flow diagram to outline the app’s navigation.
- Sketch the basic layout of each screen, focusing on structure.
- Digitize sketches using a wireframing tool and add annotations.
- Review the wireframe for potential usability issues with stakeholders.
Prototyping Checklist
- Select a prototyping tool that suits your project needs.
- Define key interactions and user flows within the prototype.
- Ensure all interactive elements are linked correctly between screens.
- Conduct usability testing with real users and gather feedback.
- Iterate the prototype based on feedback and improve functionality.
- Finalize the prototype and prepare for the development phase.
Frequently Asked Questions (FAQs)
What is the main difference between a wireframe and a prototype?
A wireframe is a structural layout — it shows what goes where without simulating interaction. A prototype is a clickable, interactive model that gives stakeholders a realistic experience of how the app will actually function.
How long does it take to create a wireframe and prototype?
It depends on complexity and tooling. A straightforward wireframe can come together in a few days. Prototyping, especially across multiple iteration rounds, can run several weeks. Tight planning and consistent feedback loops keep that timeline from expanding unnecessarily.
Can I skip wireframing and go straight to prototyping?
You can. You should not. Wireframing exposes structural problems before they compound. Skipping it means you are prototyping on a foundation you have never verified — and structural problems discovered in prototyping cost significantly more to fix than ones caught in wireframing.
Key Performance Indicators (KPIs) and Metrics
If you are not measuring, you are not improving. Track these throughout the wireframing and prototyping process:
- User Engagement: How users move through the prototype reveals where the experience breaks down.
- Usability Testing Scores: Quantitative data from structured tests tells you what qualitative feedback often misses.
- Feedback Iteration Rate: The number of meaningful changes per feedback round signals whether your process is producing real improvement.
- Time to Completion: Tracking time from wireframe to finalized prototype identifies bottlenecks before they become habits.
Case Study: Successful App Development Through Effective Wireframing and Prototyping
A small fitness tech startup set out to build a tracking app in a crowded market. Their edge was not the idea — it was the process. They ran a thorough wireframing phase and caught navigation problems before a single developer was briefed. The team used Figma for real-time collaboration, which meant feedback from stakeholders translated directly into prototype updates without the usual back-and-forth delay. The result was a user-friendly product that gained real traction at launch — built quietly, tested relentlessly, and shipped with confidence.
That is what disciplined process produces. Not luck. Not a better idea. A better system.

Leave a Reply