

How to Set Up Your Logitech MX Master 3S
Disclosure: This post contains affiliate links. We may earn a commission at no extra cost to you.
Disclosure: This post contains affiliate links. We may earn a commission at no extra cost to you.
A developer named Jane was logging long hours, her wrist aching, her workflow choppy. She swapped in the Logitech MX Master 3S, spent one afternoon configuring it, and within a month reported a 25% jump in coding speed alongside a real drop in wrist pain. That’s not a coincidence. The mouse has seven customizable buttons, a 8,000 DPI sensor, and a battery that runs 70 days on a single charge. The receipts are there. What follows is exactly how to set it up so you get the same results.
Why Choose the Logitech MX Master 3S?
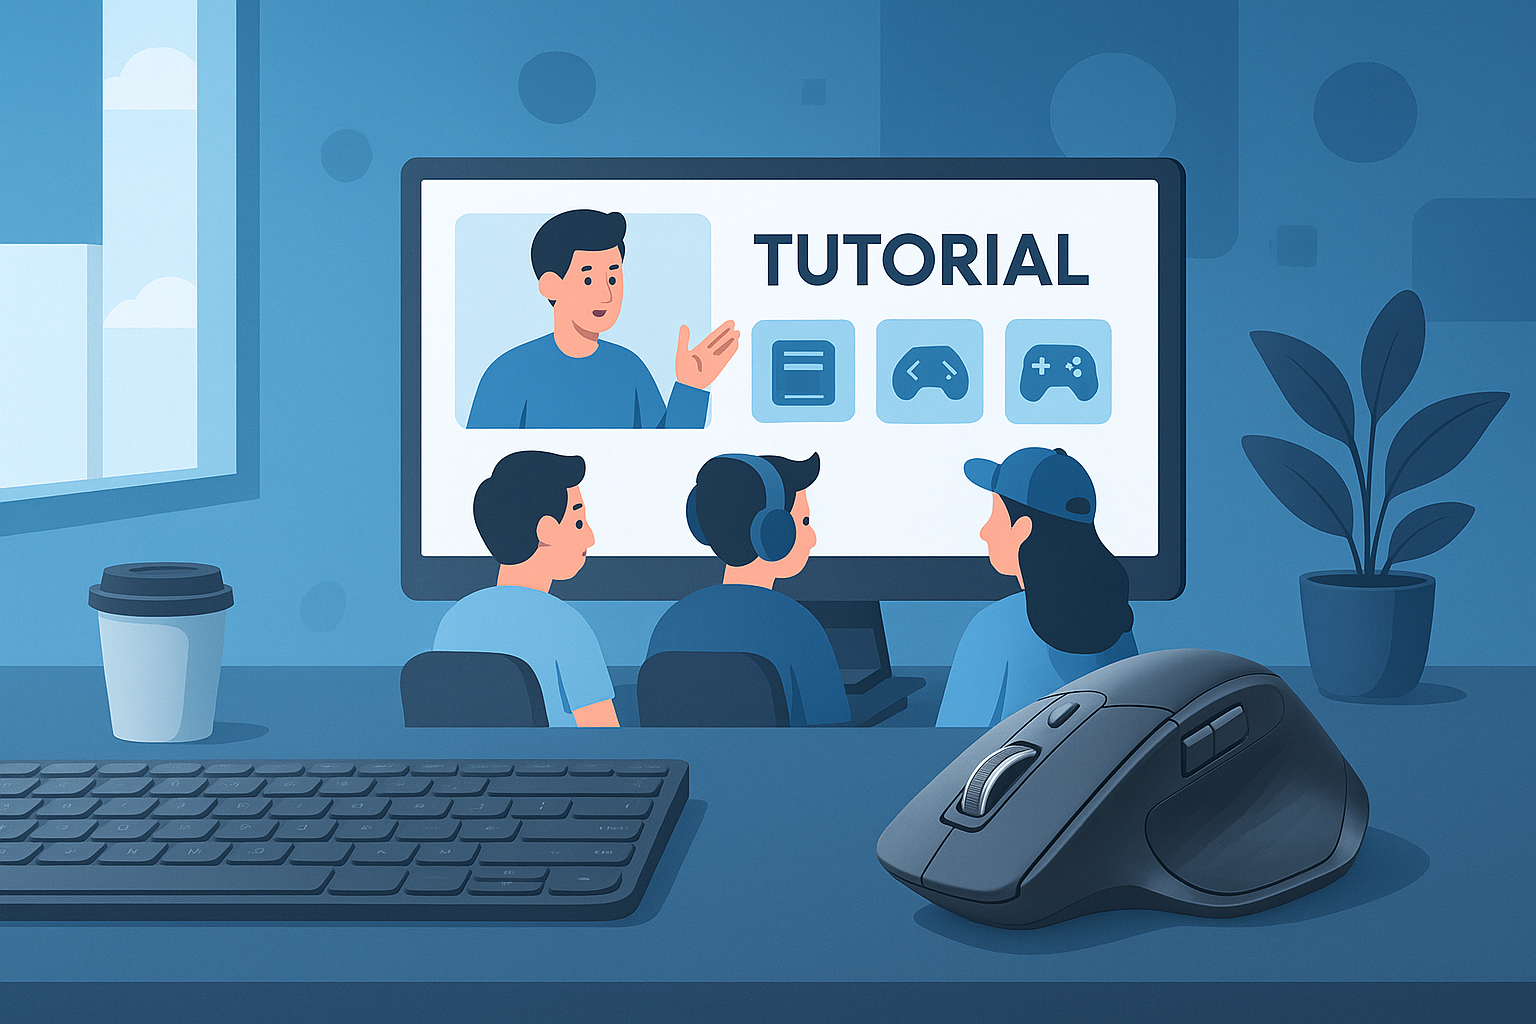
The MX Master 3S is built for people who treat their tools like owned assets. Ergonomic shape, advanced tracking on virtually any surface, and buttons you can map to whatever your workflow demands. Developers, content creators, and heavy multitaskers keep coming back to it because the system compounds over time — the more you dial it in, the faster you move.
Whether you’re a beginner developer or someone with years of reps behind you, the configuration options here are deep enough to matter. Set it up right once, and it works for you while you sleep.
Step-by-Step Setup Guide
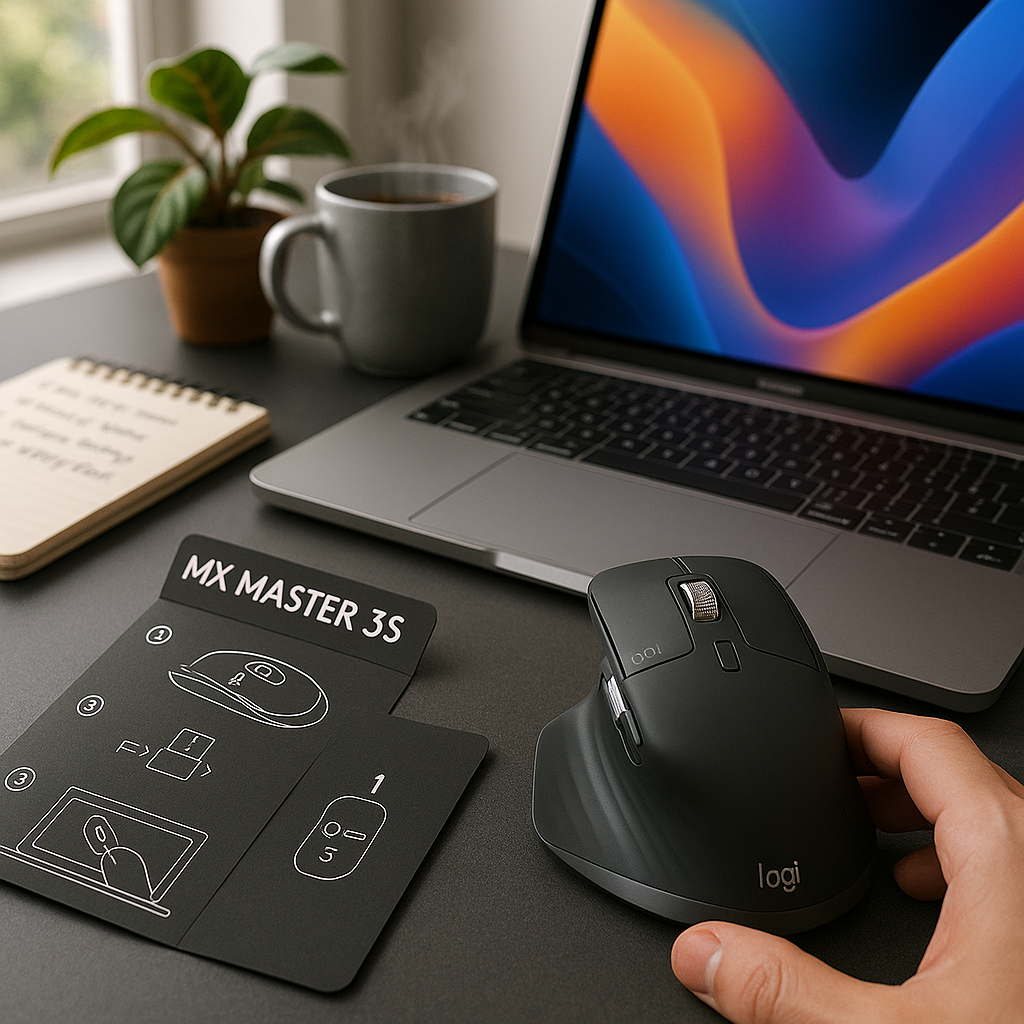
Here’s the setup process from box to fully configured. Follow these steps in order and you won’t miss anything.
1. Unbox and Charge
- Pull the mouse out of the box and plug it into a power source using the included USB-C cable. Charge it fully before first use so you start with a complete 70-day battery cycle.
- That 70-day figure is real under normal use. You’re not going to be hunting for a cable every week. That’s one less thing pulling your attention away from the work.
2. Connect to Your Device
- You have two options: Bluetooth or the Logitech Unifying Receiver. For Bluetooth, make your device discoverable and pair through your system settings. For the Unifying Receiver, plug it into a USB port and the mouse connects automatically.
- The Unifying Receiver is the faster path if you just want it working in under two minutes. Bluetooth is cleaner if you’re managing a tidy desk with no spare USB ports.
3. Install Logitech Options Software
- Download and install the Logitech Options software. This is where the real configuration happens — button mapping, application-specific profiles, gesture controls, all of it lives here.
- Start by assigning your most-used shortcuts to the side buttons. Copy-paste, switching tabs, opening your terminal — whatever you reach for twenty times a day. That’s where the time savings stack up.
4. Customize Your Mouse
- Inside Logitech Options, adjust pointer speed, enable gesture controls, and assign functions to each button. Take fifteen minutes here. It pays back in hours.
- The horizontal scroll wheel is worth your attention specifically if you work in spreadsheets, video timelines, or wide code files. Scroll sideways without holding Shift. Small thing, big difference across a full workday.
Advanced Features and Tips
This is where the MX Master 3S separates itself. Two features in particular are worth understanding before you close the software.
Flow Control
- Logitech Flow lets you control two computers with one mouse. Move your cursor to the edge of one screen and it slides onto the other machine. You can drag files across devices the same way.
- If you run a laptop alongside a desktop, this removes the need for a second mouse entirely. One device, two machines, zero extra hardware on your desk.
Custom Profiles
- You can build separate button configurations for individual applications. Your Photoshop setup looks different from your VS Code setup, and the mouse switches automatically when you change windows.
- This is the part of the system that compounds. Each profile you build is time you stop spending on repetitive navigation, permanently.
Integrating the MX Master 3S into Your Workflow
Setup is the easy part. The real answer to whether this mouse earns its place on your desk comes down to how deliberately you wire it into your daily process.
Boosting Productivity
- The ergonomic shape holds your hand in a natural position during long sessions. Less strain means more hours before fatigue sets in — and Jane’s numbers back that up.
- Every shortcut you assign to a button is a small piece of friction you remove from a task you do repeatedly. Those fractions of a second add up to real minutes by end of day.
Enhancing Creativity
- For video editors and designers, the precision scroll wheel and per-application controls mean you spend less time navigating software and more time making decisions.
- Reducing tool-switching friction is how you protect your focus. The mouse handles the mechanics so your attention stays on the work.
Conclusion: The Real Answer to Efficient Workflows
The MX Master 3S is a system, not just a peripheral. Configure it once and it compounds your output every day after that — faster navigation, less physical strain, and a desk setup that works for you while you sleep. Jane saw a 25% coding speed increase in one month. That’s the receipt.
To push the setup further, pair it with the Keychron K2 (affiliate) keyboard or the Logitech Litra Glow (affiliate) for a complete desk build that holds up across long working sessions.
For more on building efficient workflows and owned traffic systems, check out our blog and tutorials at The Silent Webmaster.
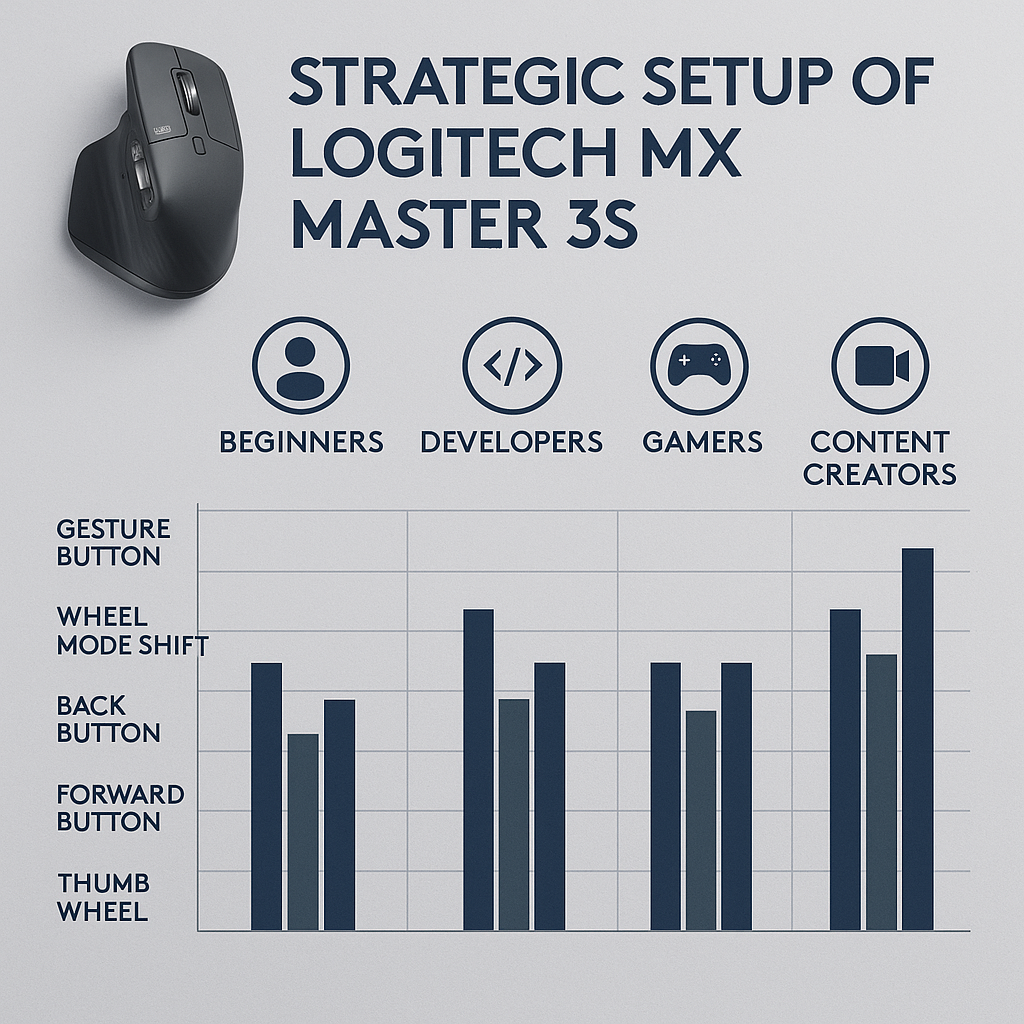
Optimizing the MX Master 3S for Different User Profiles
The right configuration depends on what you actually do all day. Here’s how to tailor the setup to your specific work.
For Beginners
- Simplify Controls: Start with the basics. Get comfortable with the ergonomic shape and the primary buttons before you touch the advanced settings.
- Basic Customization: Use Logitech Options to map two or three shortcuts you use constantly — copy-paste, volume, browser back. Build from there once those feel automatic.
For Developers
- Code Navigation: Assign buttons for switching between files or tabs in your editor. That single change can meaningfully cut the time you spend moving between contexts.
- Debugging Shortcuts: Build a profile tied to your IDE with buttons mapped to step-through, breakpoints, and run. One click instead of a keyboard chord, every time.
For Gamers
- Responsive Controls: Dial in your DPI settings for the precision your games require. The MX Master 3S covers a wide sensitivity range you can tune per title.
- Macro Assignments: Map in-game macros to the customizable buttons. In fast-paced sessions, that’s a measurable edge over reaching for the keyboard.
For Content Creators
- Editing Tools: Assign your most-reached-for tools — brush size, layer selection, zoom — to buttons so you stop hunting through menus mid-session.
- Timeline Scrolling: Use the horizontal scroll wheel to move through video and audio timelines without a modifier key. Editors who try this don’t go back.
Checklist for Optimal Setup
Run through this before you call the setup done:
- Charge the mouse fully before first use.
- Choose your connection method — Bluetooth or Unifying Receiver.
- Install and update the Logitech Options software.
- Create custom profiles for your most-used applications.
- Adjust pointer speed and DPI settings to match your preference.
- Test the Flow feature if you’re running multiple devices.
- Check for software updates regularly so you keep access to new features.
Frequently Asked Questions (FAQs)
Can I use the MX Master 3S with multiple devices?
Yes. The MX Master 3S supports multi-device connectivity. There’s a button on the bottom of the mouse that switches between paired devices. If you work across two computers, this is one of the more practical features you’ll use daily.
How do I update the Logitech Options software?
Logitech Options will prompt you when an update is available. You can also check manually by opening the software and going to the About section, where you’ll find a Check for Updates option.
What should I do if the mouse is not connecting?
First, confirm the mouse is charged and your device’s Bluetooth is on. If you’re using the Unifying Receiver, make sure it’s seated firmly in the USB port. A device restart clears most connection issues that aren’t hardware-related.
Key Performance Indicators (KPIs) for Measuring Efficiency
If you want to know whether the setup is actually working, track these three things:
- Task Completion Time: Clock how long specific tasks take before and after you configure the mouse. Jane’s 25% improvement showed up within one month — give yourself the same window.
- Frequency of Shortcuts Used: Logitech Options logs button presses. Look at which custom shortcuts you’re actually hitting. The ones you ignore are worth reassigning.
- Ergonomic Comfort: Track whether wrist or hand discomfort decreases over extended sessions. That’s a real signal the ergonomic design is doing its job.
Case Study: A Developer’s Journey with the MX Master 3S
Background: Jane, a software developer, was dealing with wrist strain and a workflow that kept interrupting itself. She brought the Logitech MX Master 3S into her setup to see if the hardware could fix what the software couldn’t.
Implementation: She mapped her most-used coding commands to the side buttons and connected the mouse to her dual-monitor setup using the Flow feature. The ergonomic shape replaced the flat mouse that had been causing the strain.
Results: One month in, wrist pain was down noticeably and her coding speed had increased by 25%. Moving between monitors and applications stopped being something she thought about. The system handled it, and she focused on the actual problem-solving.
Jane’s setup is a clean example of what happens when you configure a tool deliberately instead of using it out of the box and hoping for the best.
Setting Up Logitech Flow for Seamless Multi-Device Use
Flow is worth a dedicated setup session if you run more than one machine. Here’s how to get it working:
- Install Logitech Options: The software needs to be on every device you want to connect — not just the primary one.
- Enable Flow: Inside Logitech Options, go to the Flow tab and switch it on.
- Connect Devices: Follow the pairing prompts. All devices need to be on the same network for the cursor handoff to work smoothly.
- Test the Setup: Push your cursor to the edge of one screen and watch it move to the next machine. Adjust sensitivity and transition speed until it feels natural.
Once Flow is running, you can drag files between machines the same way you’d move them between windows. For anyone managing owned workflows across multiple systems, that’s a straightforward time saver with no extra hardware required.



Leave a Reply