

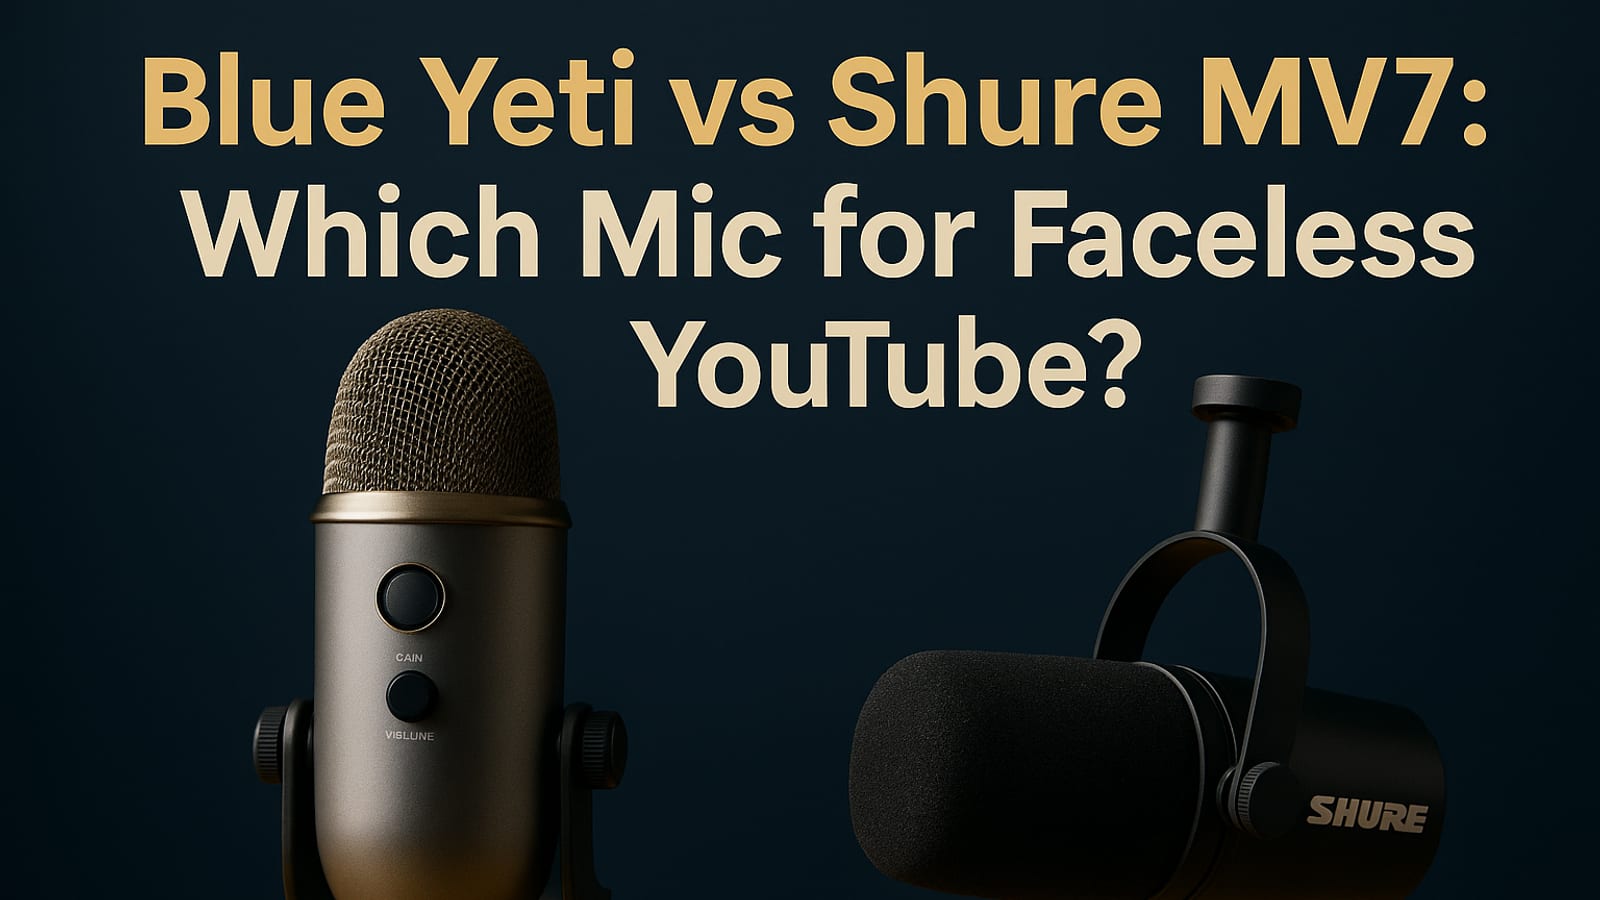
You’re setting up a faceless YouTube channel. No on-camera presence, no team — just a system that produces owned traffic and earns while you sleep. Before any of that runs, you need audio people will actually sit through. Two mics come up in almost every serious conversation: the Blue Yeti Microphone and the Shure MV7. Here are the receipts on both, so you can pick the one that fits where you are right now.
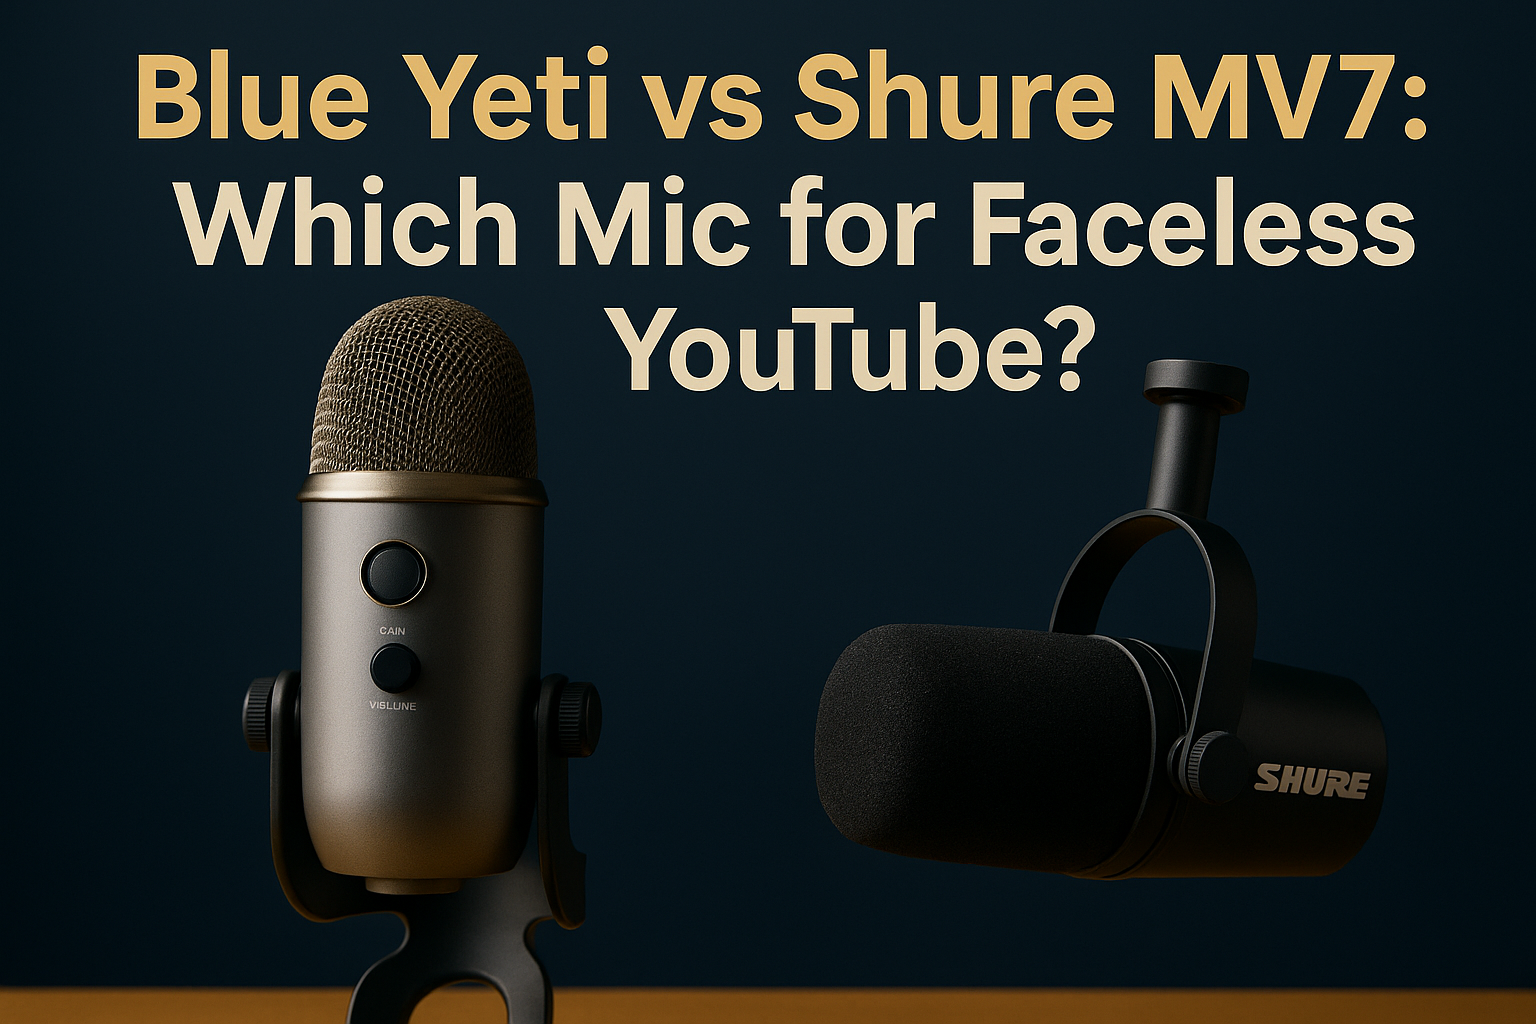
The Blue Yeti: A Classic for a Reason
The Blue Yeti has been in the content creation toolkit for years. It earns its spot because it pairs solid quality with genuine versatility at a price that doesn’t require a business loan. Plug it in, and it works. That simplicity is why beginners and experienced creators both keep reaching for it.
Here’s how the numbers stack up:
- Price: Around $130, sometimes less if you catch a sale. A reasonable starting point for anyone bootstrapping their setup.
- Features: Four polar patterns — cardioid, bidirectional, omnidirectional, and stereo. That flexibility covers most recording situations you’ll actually encounter.
- Quality: Clear audio with minimal background noise. On a faceless channel where your voice carries the whole video, that matters more than anything else.
The Blue Yeti is a tool that compounds its value as your channel grows. You’re not buying a mic for today’s video — you’re buying one that adapts as your content needs shift.
The Shure MV7: Modern Powerhouse
The Shure MV7 was built for creators who want professional-grade sound without buying a full broadcast rig. It draws from the same design DNA as the Shure SM7B — a mic used in serious radio and podcast studios — and adds both USB and XLR outputs so your setup can grow without replacing the mic.
Here’s the breakdown:
- Price: Around $250, which reflects the build quality and the dual-output flexibility.
- Features: USB and XLR connectivity, touch panel controls, and Shure’s companion app for dialing in your sound.
- Quality: Tight noise isolation and exceptional clarity. When the audio has to carry a video on its own, this level of detail shows.
The Shure MV7 is a deliberate choice. It lets you own your audio quality from day one and keeps pace with a more advanced setup if you decide to go that direction later.
Choosing the Right Mic: What to Consider

The decision comes down to where you are right now and where you’re taking the channel. Neither mic is a wrong answer — but one of them fits your situation better than the other.
Walk through these three questions:
- Budget: If you’re keeping costs tight at the start, the Blue Yeti at $130 delivers real quality without overextending. If you have $250 to put toward audio and you want room to scale, the MV7 earns that gap.
- Setup Complexity: The Blue Yeti is plug-and-play. The MV7 has more controls and a companion app — not complicated, but there’s a short learning curve.
- Future-Proofing: If you plan to connect to an audio interface down the road, the MV7’s XLR output makes that transition clean. The Blue Yeti is USB only.
The real answer is the one that matches your actual situation today, not an imagined version of your setup six months from now. Pick the mic that lets you start recording this week.
Building Your Faceless YouTube System
The mic is one piece. The system around it is what actually earns while you sleep. Here’s how to build it:
1. Content Planning
Start with a clear niche and a posting schedule you can hold. Consistency compounds — a channel that publishes reliably every week builds owned traffic that a one-off viral video never will. If you’re extending your brand to a website, use Namecheap to lock in your domain early.
2. Automation Tools
AI content automation handles the repetitive parts — video editing workflows, social scheduling, repurposing. Every hour you recover from manual tasks is an hour you put back into content that compounds.
3. Monetization Strategy
Plan multiple income streams from the start: affiliate marketing, sponsorships, digital products. Each one adds a layer. Together they build a system where the revenue doesn’t stop when you step away from the desk.
For more on building that kind of system, the blog and tutorials on The Silent Webmaster walk through the mechanics in detail.
Conclusion: Take Action Today
Picking between the Blue Yeti and the Shure MV7 is a practical decision, not a dramatic one. Both mics do the job. The Blue Yeti gets you in at $130 with flexibility and simplicity. The MV7 gives you broadcast-quality audio and room to grow at $250. Neither choice holds you back — stalling on the decision does.
Pick the mic that fits your budget right now, set up your recording space, and start building the system. For tools and guidance on the next steps, the resources page has what you need.
Maximizing Audio Quality: Advanced Setup Tips
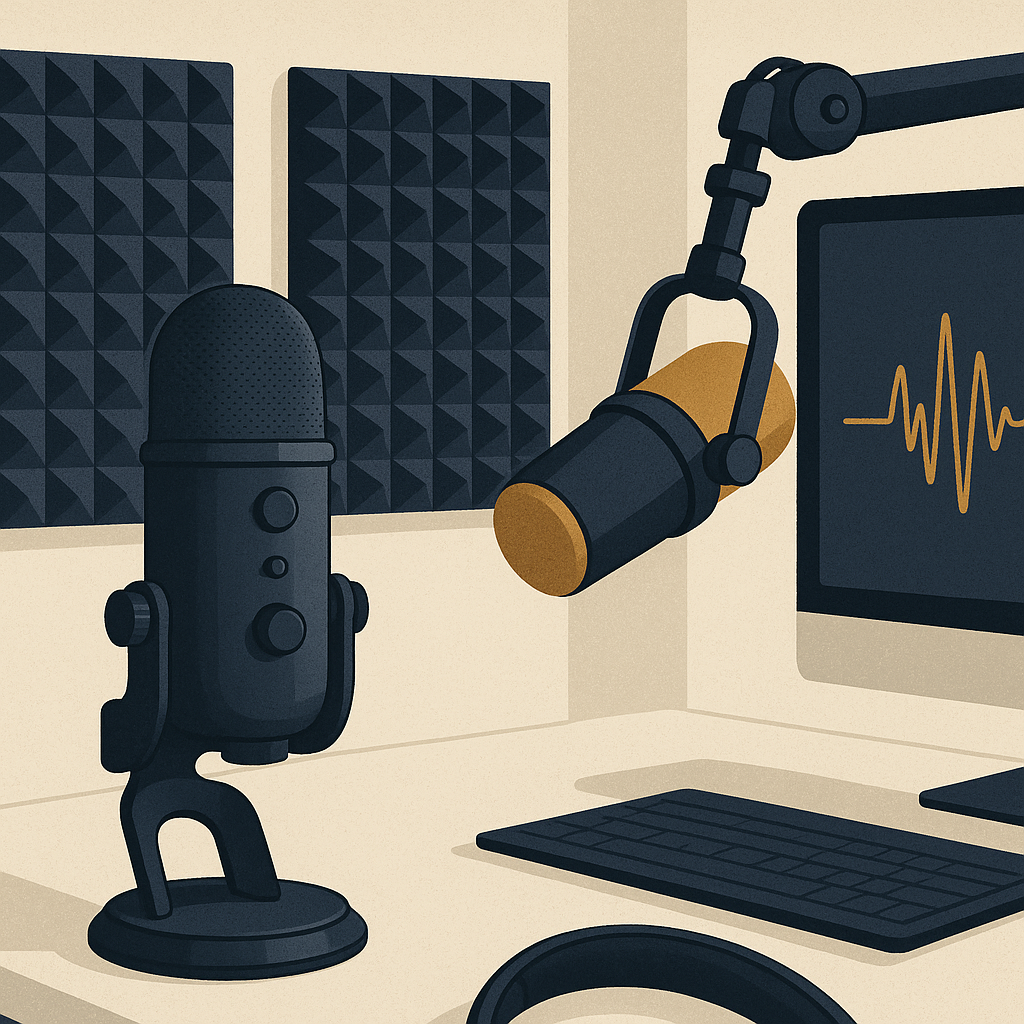
Once you’ve chosen your mic, the room it sits in shapes the result as much as the hardware does. Here’s how to get professional-sounding audio out of either the Blue Yeti or the MV7:
1. Acoustic Treatment
A $250 mic in a bare room with hard walls still sounds like a bare room. Treat the space first.
- DIY Solutions: Hang thick blankets or heavy curtains over walls and windows. Not permanent, but effective when you’re keeping costs down.
- Professional Acoustic Panels: Foam panels designed to absorb specific frequencies give you a cleaner, more consistent result over the long run.
2. Microphone Positioning
Where you place the mic changes what it picks up. Both the Blue Yeti and the MV7 respond well to deliberate positioning:
- Distance: Keep the mic 6 to 12 inches from your mouth. That range captures clear audio without pulling in every breath.
- Angle: Point the mic slightly off-axis to reduce plosive sounds on hard consonants. A pop filter handles the rest.
- Height: Set the mic at mouth level or just above to capture your voice’s natural tone.
3. Noise Reduction Techniques
Background noise is the fastest way to lose a viewer’s attention. Keep it out of the recording in the first place:
- Noise Gates: Set a noise gate in your editing software to cut ambient sound during pauses. It’s a small setting that makes a noticeable difference.
- Environmental Control: Turn off appliances, close windows, and record during quiet hours. Free and effective.
- Post-Processing: Audacity and Adobe Audition both have solid noise reduction tools for cleaning up anything that gets through.
Case Study: Successful Faceless YouTube Channels
Here’s what the receipts look like when creators treat audio as part of the system rather than an afterthought:
1. The Financial Whisperer
This personal finance channel runs on the Blue Yeti. The audio is clean, the content is consistent, and the creator built a real audience without ever appearing on screen.
- Strategy: A fixed posting schedule and clear audio kept viewers coming back. Retention drove growth.
- Outcome: Over 100,000 subscribers and a six-figure annual income from YouTube combined with affiliate marketing and online courses.
2. Tech Simplified
A tech review channel running the Shure MV7. The dual connectivity lets the creator plug directly into a professional audio interface, and the sound quality separates the channel from competitors working with lesser setups.
- Strategy: The MV7’s XLR output made integrating with a full audio chain straightforward, which lifted the overall production quality.
- Outcome: Multiple sponsorships with tech brands and a meaningful revenue increase tied directly to the channel’s reputation for production quality.
Essential Accessories for Enhancing Your Mic Setup
The mic does the heavy lifting, but a few accessories protect that investment and keep your audio consistent:
- Shock Mount: Absorbs vibrations from desk movement so they don’t show up in your recording.
- Pop Filter: Cuts plosive sounds on hard consonants, giving you a cleaner vocal track without extra editing work.
- Mic Stand or Boom Arm: Keeps the mic locked in the right position so you’re not adjusting placement between every session.
Disclosure: this article may contain affiliate links. If you buy through them, we may earn a small commission at no extra cost to you.

Leave a Reply